개요
테스트코드의 중요성은 해당 블로그를 읽는 분이라면 모두 알고 있을 것이다. 나도 잘 알고 있지만, 정확한 사용법을 몰라 매번 @SpringBootTest 통합테스트로만 테스트코드를 작성하였다. 이렇게만 작성하면, 테스트코드 속도가 느려지면서 테스트 코드를 사용하지 않게 될 것이다. 그렇기 때문에 상황에 맞는 최소한의 사이즈로 테스트를 하는게 좋다고 생각한다.
해당 포스팅에서 테스트 코드 작성법과 JUnit5에 추가된 내용들을 정리해보려한다! ( 테스트코드 작성방법은 뭔가 매번 까먹었다... )
1. 통합 테스트 - @SpringBootTest
모든 빈을 등록하여 테스트를 진행한다. 그렇기 때문에 애플리케이션 규모가 크면 테스트가 많이 느려진다. ( 현업에서 테스트 코드를 돌려보셨다면 공감할거에요ㅠㅠ )
그래서 개인적으로는 classes 속성을 이용하여 필요한 빈만 등록하는게 좋은 것 같다.
- @RunWith : 해당 어노테이션을 사용하면 JUnit의 러너를 사용하는게 아니라 지정된 SpringRunner 클래스를 사용한다.
- @SpringBootTest
- @EnableConfigurationProperties : Configuration으로 사용하는 클래스를 빈으로 등록할 수 있게 해줌.
( Enable support for {@link ConfigurationProperties} annotated beans. )
@RunWith(SpringRunner.class)
@SpringBootTest(
        properties = {
                "property.value=propertyTest",
                "value=test"
        },
        classes = {TestApplication.class},
        webEnvironment = SpringBootTest.WebEnvironment.RANDOM_PORT
)
@EnableConfigurationProperties(StayGolfConfiguration.class)
public class TestApplicationTests {

    @Value("${value}")
    private String value;

    @Value("${property.value}")
    private String propertyValue;

    @Test
    public void contextLoads() {
        assertThat(value, is("test"));
        assertThat(propertyValue, is("propertyTest"));
    }

}
@Getter
@Setter
@Configuration
@ConfigurationProperties(prefix = "supplier.staygolf")
public class StayGolfConfiguration {2. 컨트롤러 테스트 - @WebMvcTest
웹상에서 요청과 응답에 대한 테스트를 할 수 있다.
해당 어노테이션을 사용하면, @Controller, @ControllerAdvice, @JsonComponent와 Filter, WebMvcConfiguer, HandlerMethodArgumentResolver만 로드되기 때문에 전체 테스트보다는 가볍다. ( 물론, classes를 이용하여 일부 빈만 등록하면 괜찮지만.... )
@RunWith(SpringRunner.class)
@WebMvcTest(BookApi.class)
public class BookApiTest {

    @Autowired
    private MockMvc mvc;

    @MockBean
    private BookService bookService;

    @Test
    public void getBook_test() throws Exception {
        //given
        final Book book = new Book(1L, "title", 1000D);

        given(bookService.getBook()).willReturn(book);

        //when
        final ResultActions actions = mvc.perform(get("/books/{id}", 1L)
                .contentType(MediaType.APPLICATION_JSON_UTF8))
                .andDo(print());

        //then
        actions
                .andExpect(status().isOk())
                .andExpect(jsonPath("id").value(1L))
                .andExpect(jsonPath("title").value("title"))
                .andExpect(jsonPath("price").value(1000D))
        ;

    }
}
3. JPA 관련 테스트 - @DataJpaTest
JPA 관련된 설정만 로드한다. 그렇기 때문에 @Entity 클래스를 스캔하여 스프링 데이터 JPA 저장소를 구성한다.
기본적으로 인메모리 데이터베이스를 이용함.
데이터소스의 설정이 정상적인지, JPA를 사용하서 데이터를 제대로 생성, 수정, 삭제하는지 등의 테스트가 가능함.
- @AutoConfigureTestDataBase : 데이터 소스를 어떤 걸로 사용할지에 대한 설정
- Replace.Any : 기본적으로 내장된 데이터소스를 사용
- Replace.NONE : @ActiveProfiles 기준으로 프로파일이 설정됨
- @DataJpaTest : 테스트가 끝날 때마다 자동으로 테스트에 사용한 데이터를 롤백
	/**
	 * What the test database can replace.
	 */
	enum Replace {

		/**
		 * Replace any DataSource bean (auto-configured or manually defined).
		 */
		ANY,

		/**
		 * Only replace auto-configured DataSource.
		 */
		AUTO_CONFIGURED,

		/**
		 * Don't replace the application default DataSource.
		 */
		NONE

	}
@RunWith(SpringRunner.class)
@DataJpaTest
@ActiveProfiles("test")
@AutoConfigureTestDatabase(replace = AutoConfigureTestDatabase.Replace.NONE)
public class BookJpaTest {
@Autowired
private BookRepository bookRepository;
@Test
public void book_save_test() {
final Book book = new Book("title", 1000D);
final Book saveBook = bookRepository.save(book);
assertThat(saveBook.getId(), is(notNullValue()));
}
@Test
public void book_save_and_find() {
final Book book = new Book("title", 1000D);
final Book saveBook = bookRepository.save(book);
final Book findBook = bookRepository.findById(saveBook.getId()).get();
assertThat(findBook.getId(), is(notNullValue()));
}
}4. REST 관련 테스트 - @RestClientTest
Rest 통신의 JSON 형식이 예상대로 응답을 반환하는지 등을 테스트 함
- @RestClientTest : 테스트 대상이 되는 빈을 주입받음
- @Rule
- MockRestServiceServer : 클라이언트와 서버 사이의 REST 테스트를 위한 객체. 내부에서 RestTemplate을 바인딩하여 실제로 통신이 이루어지게끔 구성할 수 있음. 이 코드에서는 목 객체와 같이 실제 통신이 이루어지지는 않지만 지정한 경로에 예상되는 반환값을 명시함.
@RunWith(SpringRunner.class)
@RestClientTest(BookRestService.class)
public class BookRestServiceTest {

    @Rule
    public ExpectedException thrown = ExpectedException.none();

    @Autowired
    private BookRestService bookRestService;

    @Autowired
    private MockRestServiceServer server;

    @Test
    public void rest_test() {

        server.expect(requestTo("/rest/test"))
                .andRespond(
                        withSuccess(new ClassPathResource("/test.json", getClass()), MediaType.APPLICATION_JSON));

        Book book = bookRestService.getRestBook();

        assertThat(book.getId(), is(notNullValue()));
        assertThat(book.getTitle(), is("title"));
        assertThat(book.getPrice(), is(1000D));

    }
}
// test.json
{
"id": 1,
"title": "title",
"price": 1000
}Json의 직렬화, 역직렬화 테스트 - @JsonTest
Gson, Jackson의 테스트를 제공함.
@RunWith(SpringRunner.class)
@JsonTest
public class BookJsonTest {

    @Autowired
    private JacksonTester<Book> json;

    @Test
    public void json_test() throws IOException {

        final Book book = new Book("title", 1000D);

        String content= "{\n" +
                "  \"id\": 0,\n" +
                "  \"title\": \"title\",\n" +
                "  \"price\": 1000\n" +
                "}";


        assertThat(json.parseObject(content).getTitle()).isEqualTo(book.getTitle());

        assertThat(json.write(book)).isEqualToJson("/test.json");
    }
}
JUnit5에 추가된 내용
1. @DisplayName : method 명으로 표현하기 부족했다면 해당 어노테이션을 유용하게 사용할 수 있다.
@RunWith(SpringRunner.class)
@SpringBootTest
@DisplayName("어떤 클래스를 테스트")
public class TestApplicationTests {

    @Test
    @DisplayName("어떤 어떤 테스트를 진행")
    public void contextLoads() {
        assertThat(value, is("test"));
        assertThat(propertyValue, is("propertyTest"));
    }

}
2. Lifecycle Method
@BeforeClass, @AfterClass -> @BeforeAll, @AfterAll
@Before, @After -> @BeforeEache, @AfterEach
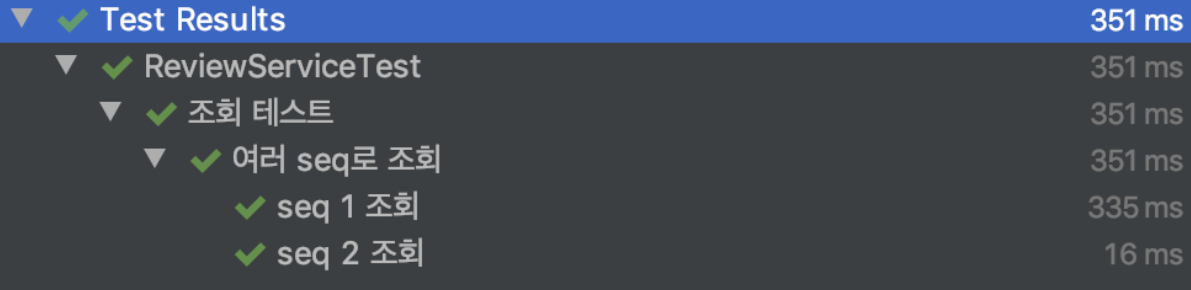
3. 중첩된 테스트 클래스 - @Nested
@DisplayName("조회 테스트")
@Nested
class ReviewServiceTest {

	@DisplayName("여러 seq로 조회")
    @ParameterizedTest(name = "seq {0} 조회")
    @ValueSource(longs = { 1L, 2L })
    void getBySeq(Long seq){
    	Review review = reviewService.getByReviewSeq(seq);
        assertThat(review).isNotNull();
    }
}
참고사이트
https://cheese10yun.github.io/spring-boot-test/
'Test Code' 카테고리의 다른 글
| JUnit으로 테스트 코드 잘 짜는 방법 (0) | 2018.09.28 |
|---|